WordPress, regenerate images with WP-CLI and EWWW IO
Introduction
I recently resized the featured images for a clients posts to bring them inline with the 1200x628px standard. The two points of interest in this article are that I used WP-CLI for the regeneration and there’s a specific order to do tasks if using the EWWW Image Optimizer plugin.
If EWWW is active during regeneration you will cause undue stress on the server whilst it attempts to resize, then automatically optimise each image. Especially if there is a large number of files to process.
01. First things first, set the new sizes
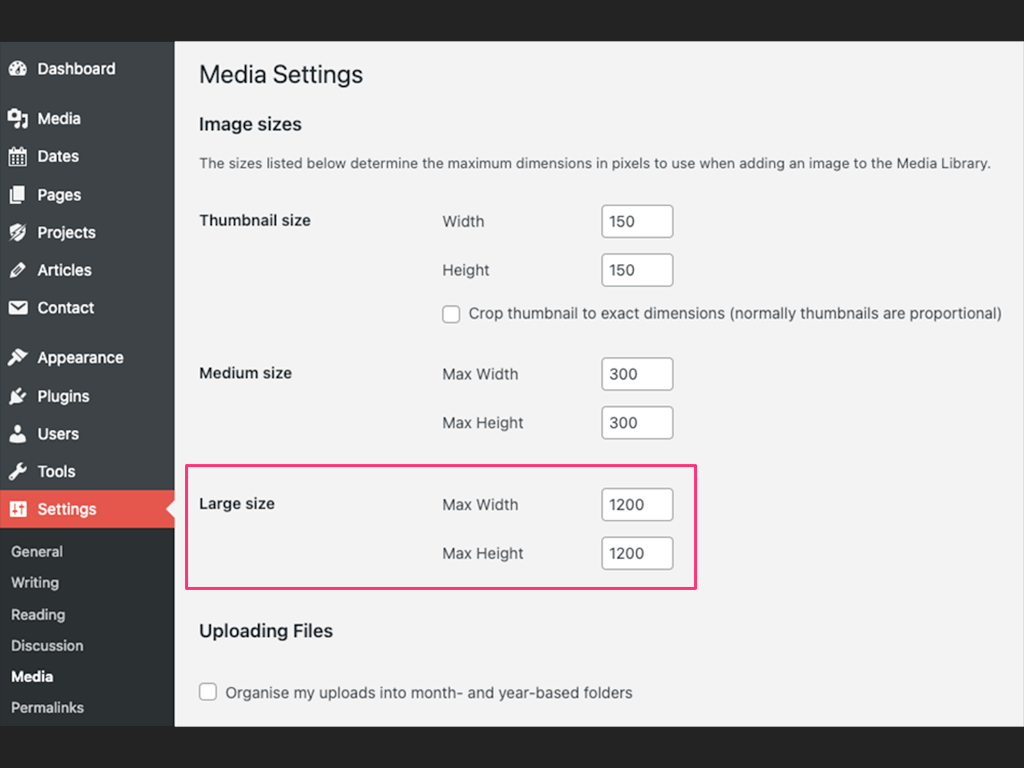
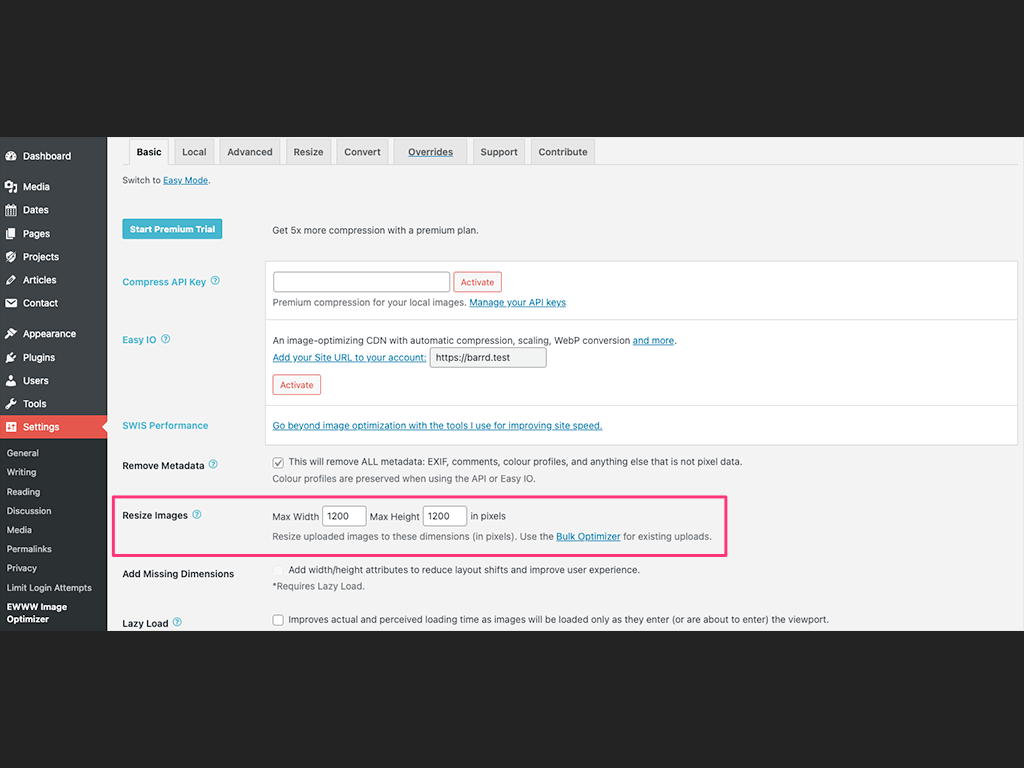
Image Index
Update media settings
Head to Media Settings (Settings > Media) (See Image 1) in the admin area and change the Large size to whatever dimensions you require, in this example it’s 1200px Max Width and 1200px Max Height.
Update EWWW plugin settings
Now head to Settings > EWWW Image Optimizer (See Image 2) in the admin area and change the Resize Images to the same dimensions you added into the Media Settings.
02. If required, add custom size images
Before regenerating the image sizes now would be a good time to figure out what other dimensions you need for optimising when employing media responsiveness. You do so by adding variants using the Core WordPress function add_image_size().
/**
 * Add Full, Medium & Small custom sizes for featured images
 */
add_image_size( 'featured-full', 1200, 628, array( 'center', 'center' ) );
add_image_size( 'featured-md', 600, 314, array( 'center', 'center' ) );
add_image_size( 'featured-sm', 300, 157, array( 'center', 'center' ) );
The sizes you choose will be dependant on your theme setup so it’s best to experiment using a local copy of your site before trying this out on Production / Live. For more information read the documentation.
03. Deactivate the EWWW plugin
You need to deactivate the plugin to ensure that it will not be running in parallel whist WP-CLI is regenerating the new sizes (next step.) If you fail to do this it may cause the server to slow down, or far worse… crash.
You have been warned. Go to Plugins > EWWW Image Optimizer and click ‘Deactivate’.
04. Run the WP-CLI regenerate command
You have some options here, for full details read the documentation and decide which route is best for your needs. I went for the simple approach and regenerated all thumbnails without conformation.
wp media regenerate --yesI tested on a local version first and I’d advise you do the same. That way you can double check everything is working as expected and make adjustments till perfect.
05. Reactivate EWWW plugin and run bulk optimise
After you have reactivated the EWWW plugin head to the Bulk Optimise admin page. The link for which can be found in it’s main settings page.

If you are unfamiliar with the Bulk Optimiser please read the documentation for further information.
06. Test, test, test
Once the optimiser has finished it’s time to test everything thoroughly, better to reset a local version than discover you’ve broken your live site! Ensure you’ve covered every variation you can think of by visiting the appropriate pages and post types.
Using DevTools Inspector (or simply download images direct from the page) ensure that the image sizes being presented are correct and look good at all media sizes.
Final thoughts
Once you know the appropriate sequence of events and get well versed at choosing and implementing the right custom image sizes the process is a breeze. Helped a great deal by the simplicity and power of WP-CLI. Happy regeneration and hope it goes well for you.
// End of Article
Article Information
Further Reading
- Download EWWW Image Optimizer (wordpress.org)
- EWWW Getting Started Guide (docs.ewww.io)
- EWWW Image Optimizer Home (ewww.io)
- WordPress add_image_size() Docs (developer.wordpress.org)
- WP-CLI Regenerate Command (developer.wordpress.org)
About Dave A.K.A. 'barrd'